Adding glitter to a print design intstantly elevates its value and fashion appeal. Any printer should incorporate glitter in their offering, as it is simple to print. Many start-up printers are unsure of how to print glitter or how to get the best results.
Here are some simple tips and tricks to use as a guide when printing glitter:
Choose to cover larger portions of a design element with glitter rather than design parts with fine lines or small details.
Use a low mesh count. Check your ink manufacturer’s recommendation on which mesh size they recommend. Shimmers typically use smaller-sized flakes than glitter, but each manufacturer is different.
Be sure to build up a thick emulsion layer on the shirt side to allow for a thicker deposit of the glitter flakes. This will help in preventing “bald spots” of glitter. Don’t skip this important step as it will “make or break” the success of the print.
Use a soft squeegee, 60 durometers, to allow a thicker deposit of the glitter ink onto the substrate.
After its run through the dryer, make sure to test that the entire layer is evenly cured. Glitter flakes reflect heat, so depending on the type of dryer and temperature setting, you probably will need to increase the dwell time in the dryer to assure that the entire layer is cured.
Kieth Stevens is the Western regional sales manager for International Coatings. He has been screen printing for more than 42 years and teaching screen printing for more than 12 years, is a regular contributor to International Coatings’ blogs and won SGIA’s 2014 Golden Image Award. He can be reached at kstevens@iccink.com. For more information, visit iccink.com and read the company’s blog at internationalcoatingsblog.com.
Why do we often struggle with some of the seemingly simplest things, like slathering screen-printing ink onto a decorated-apparel garment. Slathering so that it looks clean, bright, opaque and altogether attractive.
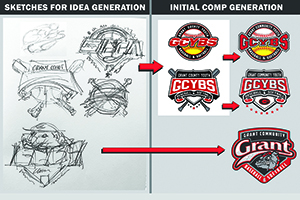
Wouldn’t it be wonderful if there was a secret formula for designing a best-selling T-shirt for a sports team, a business or for your own pre-print line?
As is the case with any craft, when it comes to screen-printing T-shirts and other apparel the devil is in the details. The best art, the best press in the world will inevitably come up short if you don’t take care of the little things as well.