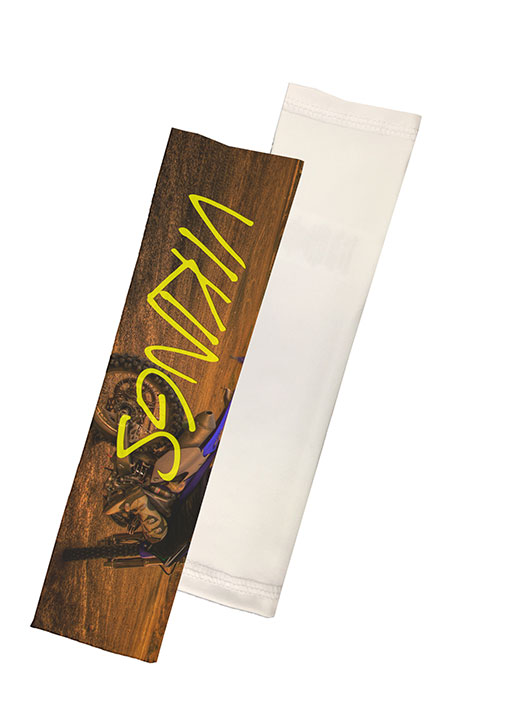
Custom arm warmers are a great way to increase a sale to schools, teams, athletic events, gifts and promotional customers. And sublimation transfers are a great way to decorate them, providing full coverage and vivid colors with almost no hand.
Dye-sub ready sleeves come in youth and adult sizes, and templates are available for download in CorelDRAW, Photoshop and Illustrator file formats. Use a transfer that is larger than the sleeve to ensure full coverage. Abstract designs and continuous patterns with team mascots, logos or names are ideal graphic options.
Application is easy. One method is to lay the arm warmer on the lower platen. Position the sublimation transfer design side down over the sleeve. Press for 30 seconds at 375°F using medium pressure, peel hot, and then flip the sleeve over and repeat on the other side.
If you are using a wide-format (44-inch) sublimation printer and a tacky paper, you can actually use both sides (left and right, not top and bottom) of the paper. Print the front and back designs leaving space between the two. Since both sides can be printed simultaneously, this saves time.
Cut the two designs apart. Press one transfer sheet face up on the lower platen. Center the arm warmer over the design.
Next, take the second sleeve transfer design and position it on top. The sticky paper helps hold the substrate in place prior to pressing. Press at the same time, pressure and temperature as before. Printing the top and bottom of the arm warmer simultaneously also saves time over printing the top and then going back to print the bottom.
Using a light adhesive spray on the transfer before applying it prevents slippage and makes the job easier.
Maradith Schwandner is a customer service specialist for Coastal Business Supplies Inc., Maryland Heights, Mo. For more information, visit coastalbusiness.com.


