Many years ago, I thought I knew everything there was to know about screen printing. After all, I was printing T-shirts and various other pieces of clothing on an old hand press and was getting pretty good at it — or, so I believed.
Then came a job opportunity at a large local sign shop, one that does the location signs inside hospitals and parking garages — big stuff, using smelly vinyl inks on plastic, etc.
To demonstrate my prowess in screen printing, they had me demo my setup and printing techniques. As I was in the process of showing them how valuable I was going to be to their company, the guy conducting my interview asked me what I was doing. Where was my off-contact? I said: “My what?”
Needless to say, I was humiliated. I still got the job, but they had to retrain me on the proper setup of the screen.
What is Off-Contact?
Off-contact is the amount of distance between the coated and imaged screen mesh and the substrate (the fabric or item on which you are printing). The proper amount of off-contact allows the screen to peel away from the printed substrate immediately or very soon after the squeegee has passed the image area.
Why is it Necessary?
Keep in mind that I was working with highly volatile substances when I first began working for the sign shop. Vinyl ink can dry out in the screen quite quickly and if the screen doesn’t peel away from the substrate, it can leave rings, or can even stick, making the printed image useless. This is only one of the problems you may encounter in screen printing if you don’t have enough off-contact.
Another consequence of not having enough off-contact is a blurry image. As the squeegee is drawn across the screen in a certain direction, it pulls the stretched fabric underneath, pulling the image along with it. As the squeegee continues across the image, the image may move ever so slightly. If it’s a large image, then the blurring can be particularly pronounced.
The amount of blur also depends on mesh tension, which is measured in newtons. Tighter mesh requires less off-contact because of how the mesh wants to snap or pull back from the image. Looser mesh requires more off-contact to get the mesh to pull away from the printed image. This, in turn, can exasperate the distortion of the image further.
Do I Need a Built-In Adjuster?
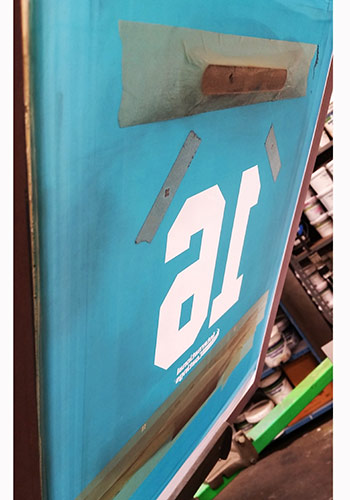
There are many ways of achieving the amount of off-contact needed, even if your press does not have a built-in off-contact adjustment function. One method is to add “shims” beneath the screen, which can be done by using a paint-stick, cardboard or washers to raise the screen where it contacts the substrate. Coins also can be used as simple shims. Dimes are the thinnest and may create an ideal gap between the screen and the substrate. For thicker substrates such as sweat shirts, a variety of coins can be stacked to achieve the ideal off-contact gap.
Even experienced printers often use shims to maintain the off-contact level from the back of the screen to the front. As pressure is put on the screen during printing, the front of the screen tends to tip downward, even on a press with a built-in off-contact adjustment feature. Using a simple shim is a great way to keep the screen level during printing.
The proper amount of off-contact depends on a number of factors. Some people recommend a distance of 1/16” to 1/8”, but it really depends on the surface thickness and the mesh tightness. Suffice it to say that the screen needs to release from the printed image right as the squeegee passes over the image, or at least prior to the screen being pulled up either by hand on a manual press or by the head of the automatic machine. If this is achieved, then you’ve got good off-contact!
Kieth Stevens is the Western regional sales manager for International Coatings. He has been teaching screen printing for more than 10 years and is a regular contributor to International Coatings’ blogs. For more information, visit iccink.com and read the company’s blog at internationalcoatingsblog.com.


