When you first start off as an embroiderer in the decorated apparel industry, you learn that there are many elements that go into mastering your craft and producing a beautiful design on things like hats, hoodies, jackets and shirts.
However, there are things you can do that will make your experience as an apparel decorating professional just a bit easier in the beginning. The following are some basics every embroiderer needs to know to create high-quality designs and products for their customers.
Machine Embroidery Needles
There are plenty of basic and specialty needles on the market that are designed for different thread and fabric types. Knowing the needles that are appropriate for your specific project is key to avoiding issues such as needle and thread breaks.
- Choose the right needle size. Most embroidery projects call for 75/11 sharp-point needles, but different garments and thread sizes require different sized needles. If you’re embroidering on something thick, like a structured hat, use an 80/12 sharp-point needle or 75/11 sharp-point titanium needle. They are tough enough to penetrate the fabric without breaking. When it comes to working with thicker thread types, such as metallic, go up a needle size to accommodate the thicker thread passing through the needle’s eye. If there’s less room for the thread to pass through smoothly, the thread easily can shred and break.
- Know the different needle-point types. Embroidery needles are classified as one of two types: ball-point or sharp-point. The difference? Ball-point needles slip through the fabric threads and don’t puncture a hole in the fabric like sharp-point needles do.Therefore, it’s best to use ball-point needles to avoid unwanted holes when embroidering delicate, stretchy garments like polyester sportswear.
- Change your needles. If you are experiencing a lot of needle breaks, it may be time to change your needle. Over time, needles become worn, making them more susceptible to breaking. Commercial embroiderers typically switch out their needles once every eight hours of continuous use, or if they have experienced three consecutive thread breaks.
Embroidery Thread for Custom Decorating
Aside from ensuring your machine is threaded properly in accordance with the manufacturer’s guidelines, keep in mind some fundamentals when it comes to choosing and caring for your thread.
- Understand the relationship between thread weights and needle sizes. Most embroidery threads range from size 30 to 60, with 40 being standard. Size 30 thread is thicker, while size 60 thread is thinner and used for detailed projects and small lettering. What does this have to do with your needle? Each needle has an eye through which the thread passes. The needle’s eye grows as it increases in size. In order for thicker thread weights to pass through the eye smoothly, you’ll need a larger needle size to avoid thread breaks.
- Know the difference between polyester and rayon thread. When first starting out, many embroiderers don’t know which type of thread is best for their embroidery projects. Polyester thread is popular for commercial settings because it is bleach resistant and less expensive. Rayon, on the other hand, is the least abrasive to machines and features more of a silky sheen and softness.
- Store your thread at cooler temperatures. It’s important to store your thread at cool temperatures so it can keep its original properties for as long as possible and prevent degradation. Threads also should be kept in a clean, dust-free location so that it doesn’t cause tension issues or possibly contamination.
Successful Hooping of Decorated Apparel
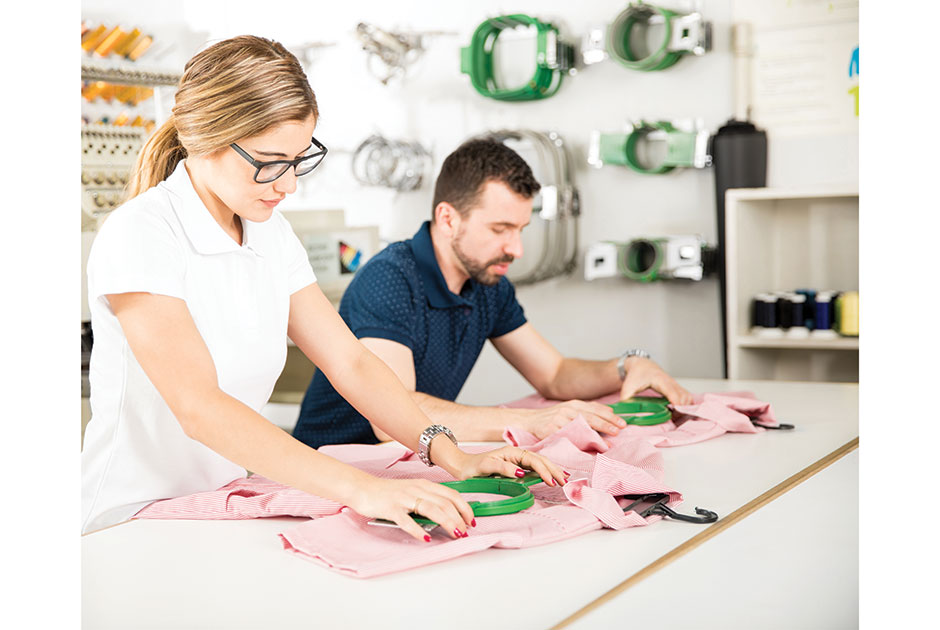
Before you can embroider a garment or fabric, you must use the correct hoop to provide the most stability and proper tension. Knowing the different hoop types and sizes is important for producing a quality design.
- Ensure you’re getting a proper hold — or tension — on the garment. In order to embroider on a garment efficiently, you will need to get a proper hold, or tension, when hooping the fabric. A lack of tension during the embroidery process can cause a loss of registration, thus moving the fabric around. This can result in a distorted or unevenly stitched design. Tension also provides the stability your fabric needs to withstand the embroidery process and keep your fabric secure.
- Avoid getting hoop marks on your garment.Sometimes, in the hooping process, your fabric or garment may be left with a white, circular mark, known as a hoop mark. When preparing a product for customers, take the proper quality-control measures to prevent, reduce and remove hoop marks. A quick way to remove a hoop mark is to spray water on it and let the garment dry. However, there are some hoops that prevent the possibility of hoop marks. For example, Mighty Hoops are magnetic and don’t need pressure applied to secure the fabric.
- Cover all areas of the garment in your hoop.When hooped, all areas of the garment and backing should fill the entire hoop. This ensures your garments are hooped tightly, helping with stability and tension and — more importantly — avoiding bird nests, which happen when the bobbin and top thread get tangled near the rotary hook.
Taking the time to master all three of these elements will make your embroidery process much smoother. It’s important to learn everything you can about your craft if you are thinking of venturing into embroidery. At the end of the day, the more you know, the more you grow.
Melissa Bango is an educational content specialist at Ricoma Embroidery Machines. The company regularly creates blog and video content to enable both beginners and experts to either start or grow their custom apparel business with embroidery.
Updated Dec. 3, 2025


