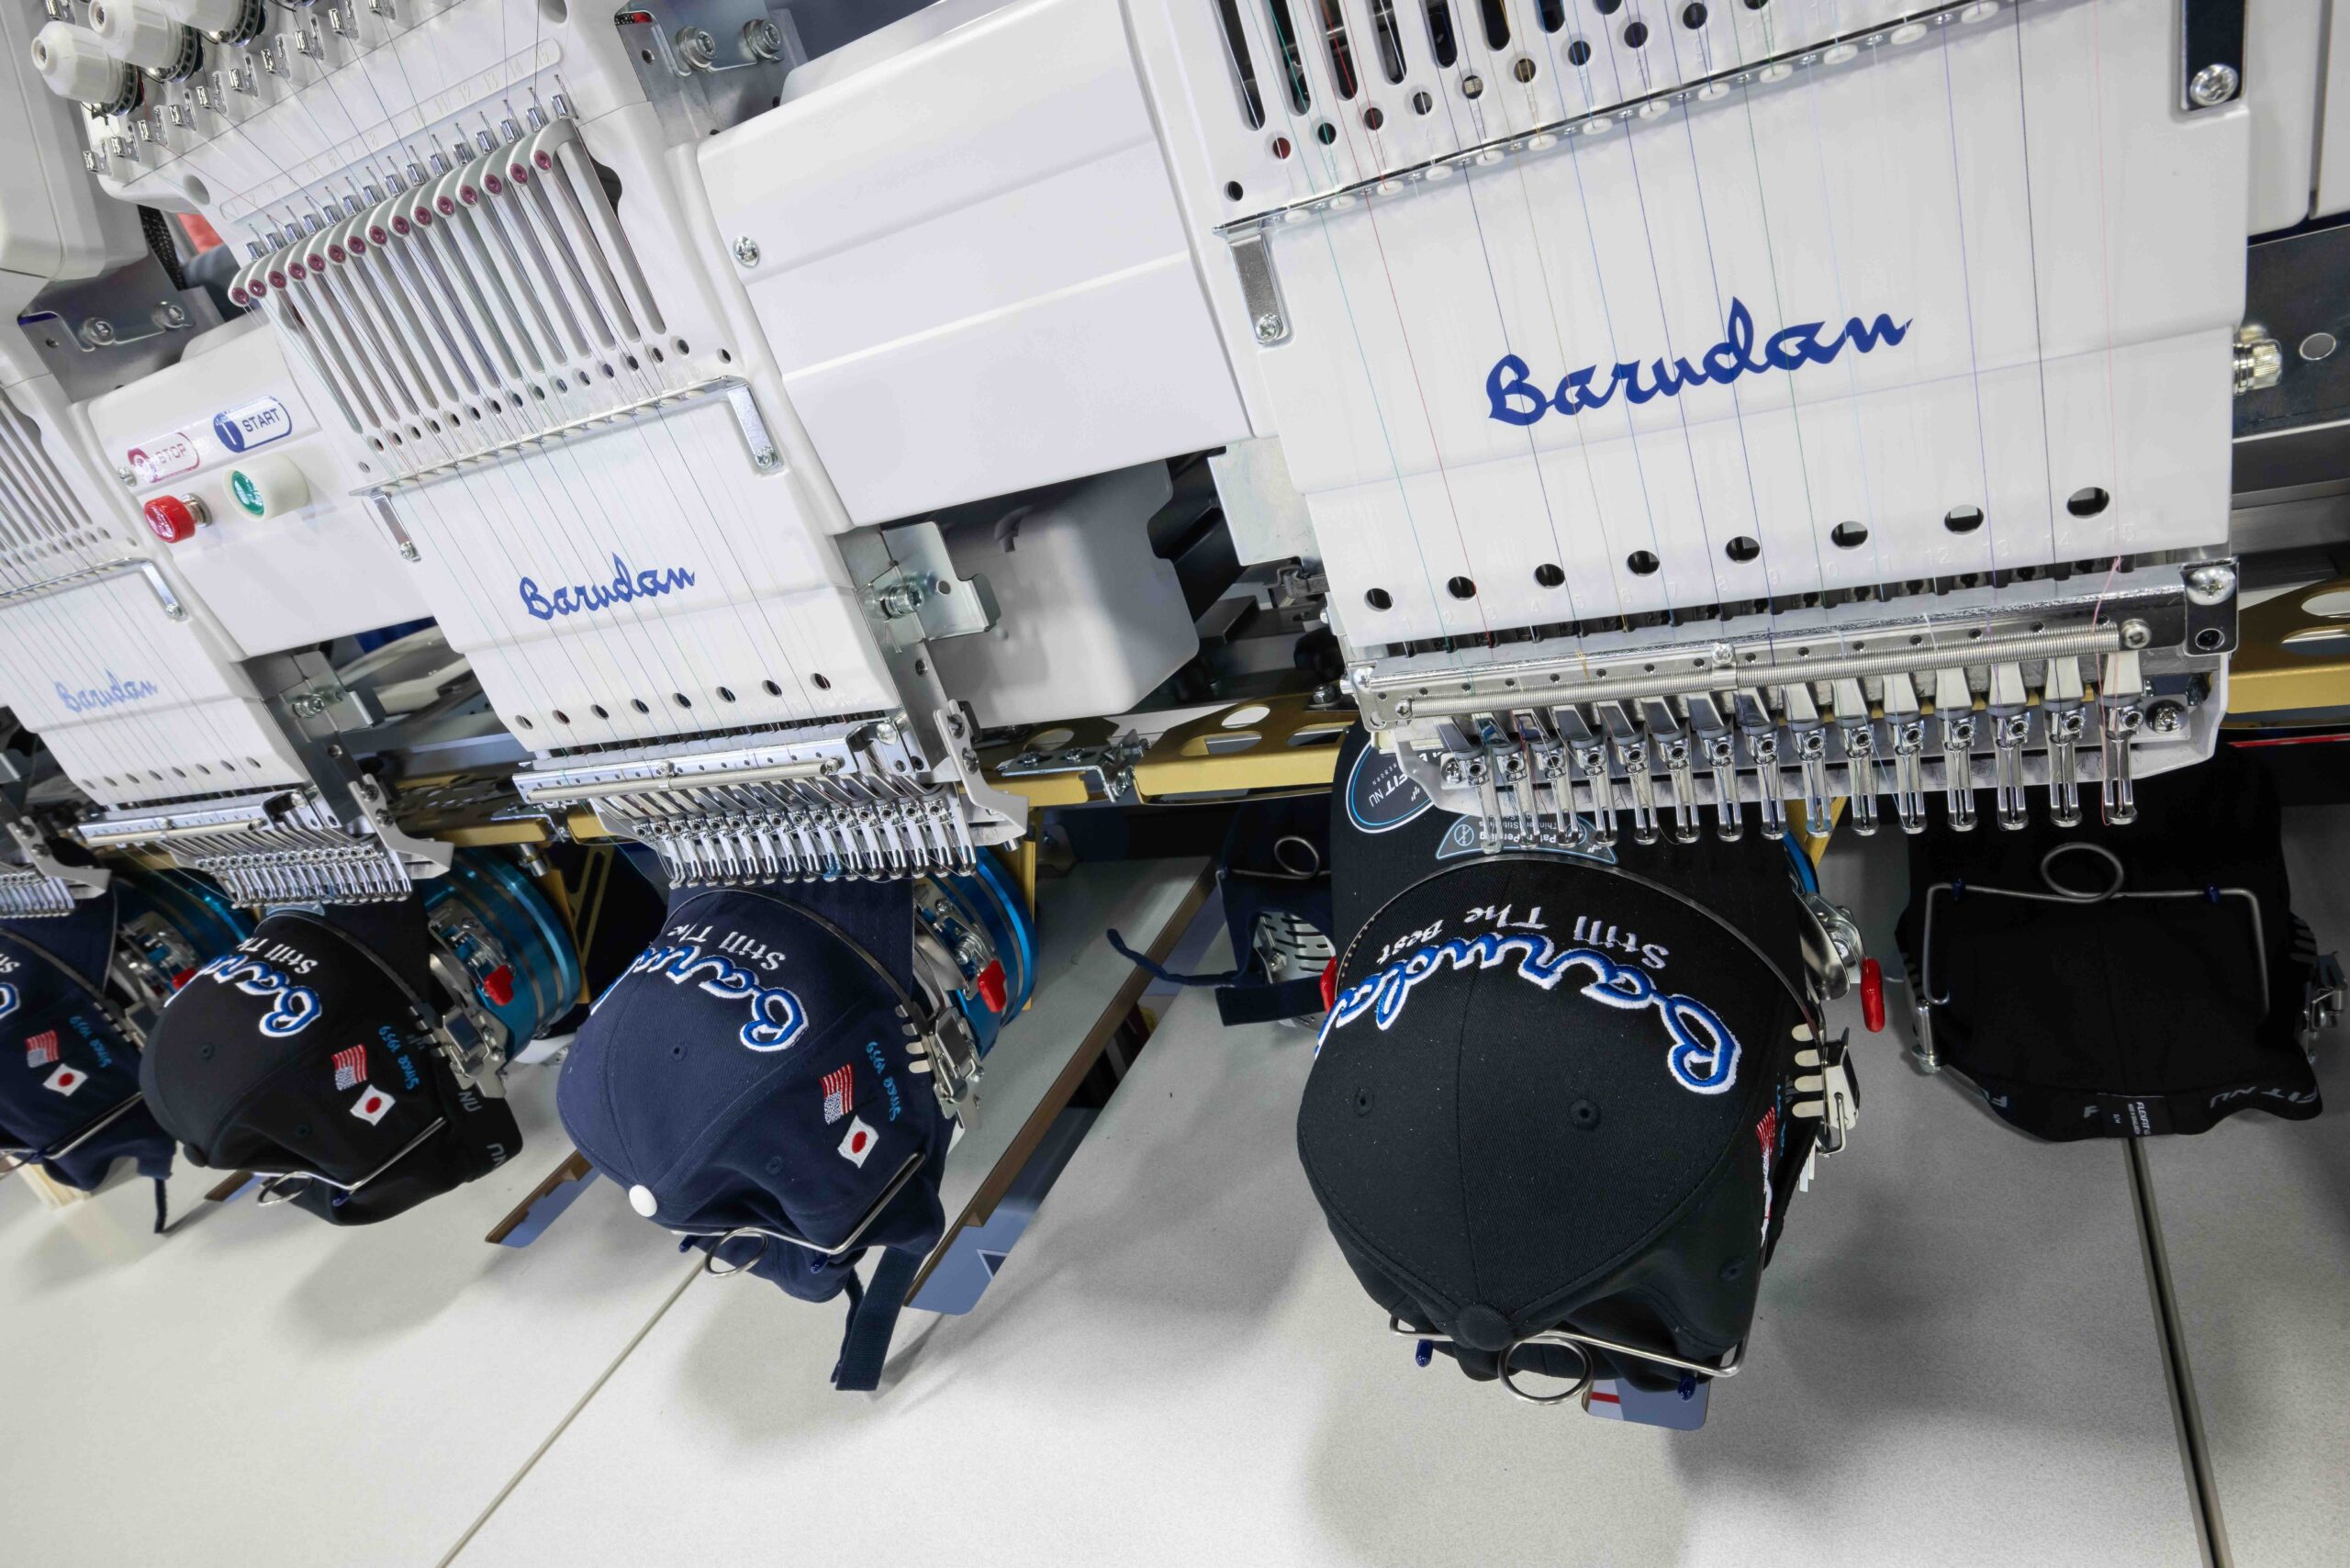
Custom decorating caps is a whole different ball game from embroidering polo shirts and on other flat surfaces
When it comes to embroidery, not all garments are created equal—and nowhere is this more evident than with caps. On the surface, hats might seem like simple pieces of apparel. But anyone who’s ever tried stitching a logo onto a structured ball cap knows this is advanced territory.
Decorating a cap isn’t just another embroidery job—it’s a specialized craft that demands a deeper level of technical skill, proper tools and attention to detail. What makes it so tricky? Let’s break it down.
Machine Embroidery on a Curve
The first hurdle with cap embroidery is the garment itself. Caps aren’t flat. They curve. They flex. They’re also made from a wide range of materials, including everything from soft brushed cotton to stiff buckram-backed twill, each of which affects things like tension and needle behavior.
At the end of the day, the curved surfaces found on caps represent the core of the challenge. Embroidering on something that refuses to lie flat means every decision, from hooping to digitizing, has to account for that fact. Add to that a number of other features found on caps, including:

Thick Seams, especially the center seam on structured caps, which can interfere with even stitching.
The Brim, which limits how much of the cap you can maneuver during embroidery, making placement and hooping more complex.
Small Stitch Areas, which in turn means there’s not a lot of real estate on a cap’s front panel, especially, meaning designs need to be sized appropriately with their dimensions tightly controlled.
Simply put, caps don’t behave like shirts—and if you treat them like they do, your design is going to pay the price.
Golden Rules of Custom Cap Embroidery
In the training sessions we do, both at my company and the professional conferences we regularly attend, like the ones at Impressions Expo, we always start with five golden rules—simple in theory, critical in practice:
1) Keep Your Design Modest in Size
Go too big, and you’ll battle puckering, distortion or seams that eat your stitches alive. Every client wants the entire Declaration of Independence put on their hat. But only the Bill of Rights will fit—which isn’t so bad either!
2) Digitize Specifically for Caps
You can’t just resize a flat garment design and hope it works. Never forget, just because something looks good on screen, that doesn’t necessarily mean it’s going to work in the real world. Cap embroidery requires its own thoughtful digitizing strategy.
3) Hoop Tight, Hoop Right
Inconsistent or loose hooping leads to shifting, alignment issues and headaches you don’t want. All cap frames on all machines are adjustable. Taking the time to make sure your frames are correctly sized at the start of each job will invariably be a huge time-saver.
4) Slow Down Your Machine
Caps aren’t T-shirts. You need to reduce your machine speed—ideally in the 600–700 SPM range—for clean, controlled stitching. True, there are plenty of new machines out there designed to run faster. But beware of running them at top speed right out of the gate. Haste will all too often make waste when it comes to hat embroidery!
5) Test, Then Stitch
Every cap style behaves a bit differently. Always do a test run before going into full production—not a bad idea with any new embroidery job, really.
Digitizing for Caps: What You Need to Know
Ask any seasoned embroiderer, and they’ll tell you the same thing—digitizing can make or break a cap job. It’s not just about shrinking down a design and hitting “go.” Caps require a more methodical approach if they’re to be successfully decorated. The following tips represent a summary of some of the fundamental principles of cap digitizing:
Center Out, Bottom Up: Stitching from the center out and bottom up helps balance out the tension as the design unfolds. That said, never start from dead center. The reason for this is avoiding the center is the most reliable way of reducing that puckering and distortion that can be caused by the cap’s center seam.
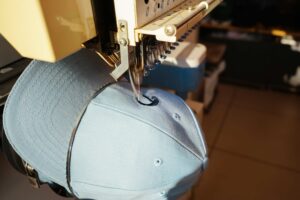
Beware the center seam, one of a number of physical features that have to be contended with when decorating caps. Image by Olena – stock.adobe.com
Accounting for the Seam: That front-center seam? It’s your nemesis. Digitize a reinforced underlay or design around it to keep your stitches from disappearing into the fold. In recent years, a number of seam-free caps have come onto the market, but these remain the exception. When it comes to cap embroidery, there’s no getting away from seams!
Pull Compensation is Essential: Caps pull in different directions as they curve. Quality digitizing anticipates this and builds in room for the material to move without compromising your stitch integrity
Use the Right Density and Underlay: Go too dense with your stitches, and you’ll cause thread breaks. Too light, and you’ll lose clarity. A well-balanced underlay supports the top stitches without overloading the cap’s surface.
Hooping: The Unsung Hero of Cap Machine Embroidery
Even the best digitizing can’t save poor hooping. Hooping is where structure, consistency and machine control all begin. Here’s what matters:
Adjust for Cap Thickness: Structured caps need different handling than unstructured ones. Tightening your frame too much on a thick cap can cause registration issues; too loose, and the design can shift mid-run.
Curve Your Backing: This technique alone saves dozens of cap projects. Flat backing doesn’t conform to the cap’s shape, so give it a gentle arc to support the curve.
Use the Strap Correctly: It’s not just there for show. The hold-down strap keeps the cap firmly locked in place. Misplacing it can lead to disastrous results.
Secure the Bottom Edge: Clipping the lower edge of the cap prevents material from riding up during stitching—a subtle but crucial step.
And yes, the quality of your hooping frame matters. Cheap frames can flex, causing uneven tension. A premium frame is an investment that pays off in results.
At the end of the day, cap embroidery is equal parts art and science. While flat garments give you some margin for error, caps demand precision at every stage—from digitizing and hooping to material selection and machine speed. The good news is when you get it right, few things look as clean, bold and professional as a well-stitched cap.
Whether you’re just getting into headwear embroidery or looking to sharpen your skills. Remember: slow down, plan ahead and look out for those curves!
Bill Garvin is the owner of BG Tech Services, a specialist in commercial embroidery machine repair, training and technical consulting. With decades of hands-on experience in embroidery mechanics, digitizing and production optimization, Bill teaches embroidery professionals how to get the most out of their equipment and their craft. Learn more at bgtechservices.net.


