With a little foresight and planning, you, too, can take your commercial embroidery business to the next level
Quality embroidery produced using traditional threads is lovely, but why not spice it up a bit and make your designs really stand out from the crowd? I know, I know, specialty threads can be scary and challenging to work with. But when you understand them for what they are, they can increase your revenue by helping you upsell your work and allowing it to stand out from the competition. Never forget, it is easier to sell more to an existing customer than it is to find new ones. Offering specialty threads will help you increase each sale, like a restaurant that offers specialty drinks and desserts to make more money on the tables it’s already serving, as opposed to serving more tables at a lower price point.
That said, specialty threads are not necessarily right for every project. Before diving in then, consider the compatibility of the design, garment and thread. If a design has small detail requirements, a thinner thread will be more appropriate than a thicker one, just as metallic thread generally isn’t appropriate for an electrician’s uniform.
The challenges posed by specialty threads mostly boil down to needle size, design properties and the need to ensure your machine settings are all correct. Generally, these details can be found on the website where you purchase your threads. If you can’t find the information there, try the manufacturer. Refer to your machine’s operating manual for recommendations on how to make any necessary adjustments.
I like to think that to make these threads friendlier to work with, we must treat them a bit like toddlers. To gain their cooperation, we must control them in a way that doesn’t open the door for their bad behavior. When we understand specialty threads and how they work, we can work with them rather than fight against them. With that in mind, let’s first go over some embroidery basics that apply to any thread, regardless of how special it may or may not be.

Choosing the Right Machine Embroidery Needle Size
The proper needle size needs to be paired with the thread being used regardless of what type it is. Not only does the thread need to pass through the needle without an undue amount of stress, but the needle must also help protect the thread when working with thicker, more abrasive fabrics. This is why we might choose a 75/11 needle (in which case the “75” refers to the needle’s 0.75 mm diameter and “11” refers its size according to U.S. standards) for everyday embroidery with a 40-weight (wt.) thread, but pair that same thread with a thicker 80/12 needle on a cap or leather. At the same time, you always want to use the smallest needle possible to avoid making large penetration holes in the garment itself.
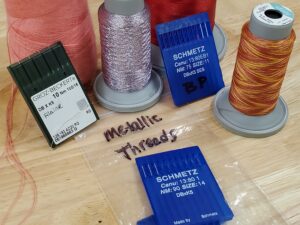
Once you’ve established the correct needle size and machine settings for a particular specialty thread, be sure and make a note of what you’ve done for when you use that same thread again. Photo by Katie Wubber
Check the recommendations for the thread you plan on using. If you can’t find any recommendations, use the following trick to determine which size may work best: take a needle and put a strand of thread through it, then hold the thread tight on each end and angle it up and down to see if the needle slides smoothly from one end to the other. If it doesn’t move smoothly, the needle eye is probably too small. If it glides well, it is likely a good fit.
Whenever you change out a needle, make a note of that fact, so you will know the size, or sizes of needles you currently have on the machine. Some of the common signs you’re working with the wrong size needle include skipped stitches, thread fraying and thread breaks. Keep a chart showing which needle size goes with each thread. You can also try keeping some needles in a drawer with the specialty thread(s) they work best with.
When a design is being digitized, the digitizer typically works under the assumption you’re going to be using a 40 wt. thread. You may therefore need to make some adjusts for a specialty thread to perform well. When working with a digitizer to create a new piece of artwork, let them know which parts of the design will be sewn with a specialty thread so they can make the necessary adjustments. Granted, some specialty threads can be plunked into a stock design all day long without any problems. However, they tend to be the exception.
If you’re the digitizer, you might want to consider keeping a “recipe book” of density values, stitch lengths and underlay approaches, in order for you to more easily repeat the successes you’ve had with past customers and more easily replicate them. You could also create a series of template files with fonts you know will perform well with various types of thread.
Setting the Proper Embroidery Machine Tension
Regardless of the thread is being used, it’s important to always be on the lookout for signs your tension settings are off. When you have the right tension in place, the thread should pull out smoothly. If, on the other hand, it is pulling more like a pulse, it could be that it’s been adjusted incorrectly and/or there is some kind of debris in the thread path in the form of dust or some other gunk. If you’re seeing loops on top, false thread breaks or failed trims, that could indicate the top tension is too loose. If thread breaks are happening, that is a good indicator your top tension is too tight.
There are several tools out there you can use to test both your top and bobbin tension settings. If you don’t have any of these tools, sew a simple column (like a capital “I”) and then look at the design’s back side. What you want is for it to look a bit like an Oreo cookie, in which the top thread is the cookie, and the bobbin thread is the frosting. Ideally, these parts will be in about equal thirds. If there is too much top or bottom cookie (the top thread), the top tension is too loose. If there is too much frosting (the bobbin), the top thread is too tight. I refer to this test as the 1/3-1/3-1/3 rule.
Setting the Proper Machine Sew Speed
I like to run everything as fast as I can, and the better dialed in everything else is, the faster you will be able to sew specialty threads. I only lower the speed if I’m experiencing thread breaks, downtime or poor quality. I’ll start slow then speed things up until I feel like I can’t go any faster and still get quality results.
Once you find the ideal tension, speed, needle size and design choices for each specialty thread, document it so they can be quickly and easily repeated. I love using an online planning/organizational option like Trello (trello.com) because it is both easy to search and can’t get lost like a sticky note. Keeping a chart of your settings near your production area can also help.
Letting Your Embroidery Shine with Metallic Threads
Metallic threads have evolved quite a bit over the past decade. However, they can still pose a challenge, as they can be prone to shredding, fraying and breaking in a way that can truly make you question your embroidery life choices! Before you do, though, take a moment to fully appreciate what you’re working with here: threads made up of metal wrapped around a polyester or rayon core. It therefore only makes sense they may not respond well to being jammed through fabric at high speeds.
Something else to keep in mind: if you’ve ever tried using metallic thread and had a bad experience, it’s likely been sitting unused on a shelf ever since, as you’ve been reluctant to try it again. Unfortunately, the longer these kinds of thread sit wrapped on the spool, the more they tend to want to stay that way, like a spring. As a result, when the thread is pulled off the spool, it coils and kinks more easily on its way into the thread path of the machine, which can in turn cause thread breaks. To avoid this, purchase smaller cones that are going to run out more quickly, especially when starting out, and then use them. If the thread is older and wants to coil, you might try positioning the thread so that it has a longer way to travel before getting into the machine. This will allow it to smooth out a little bit along the way.
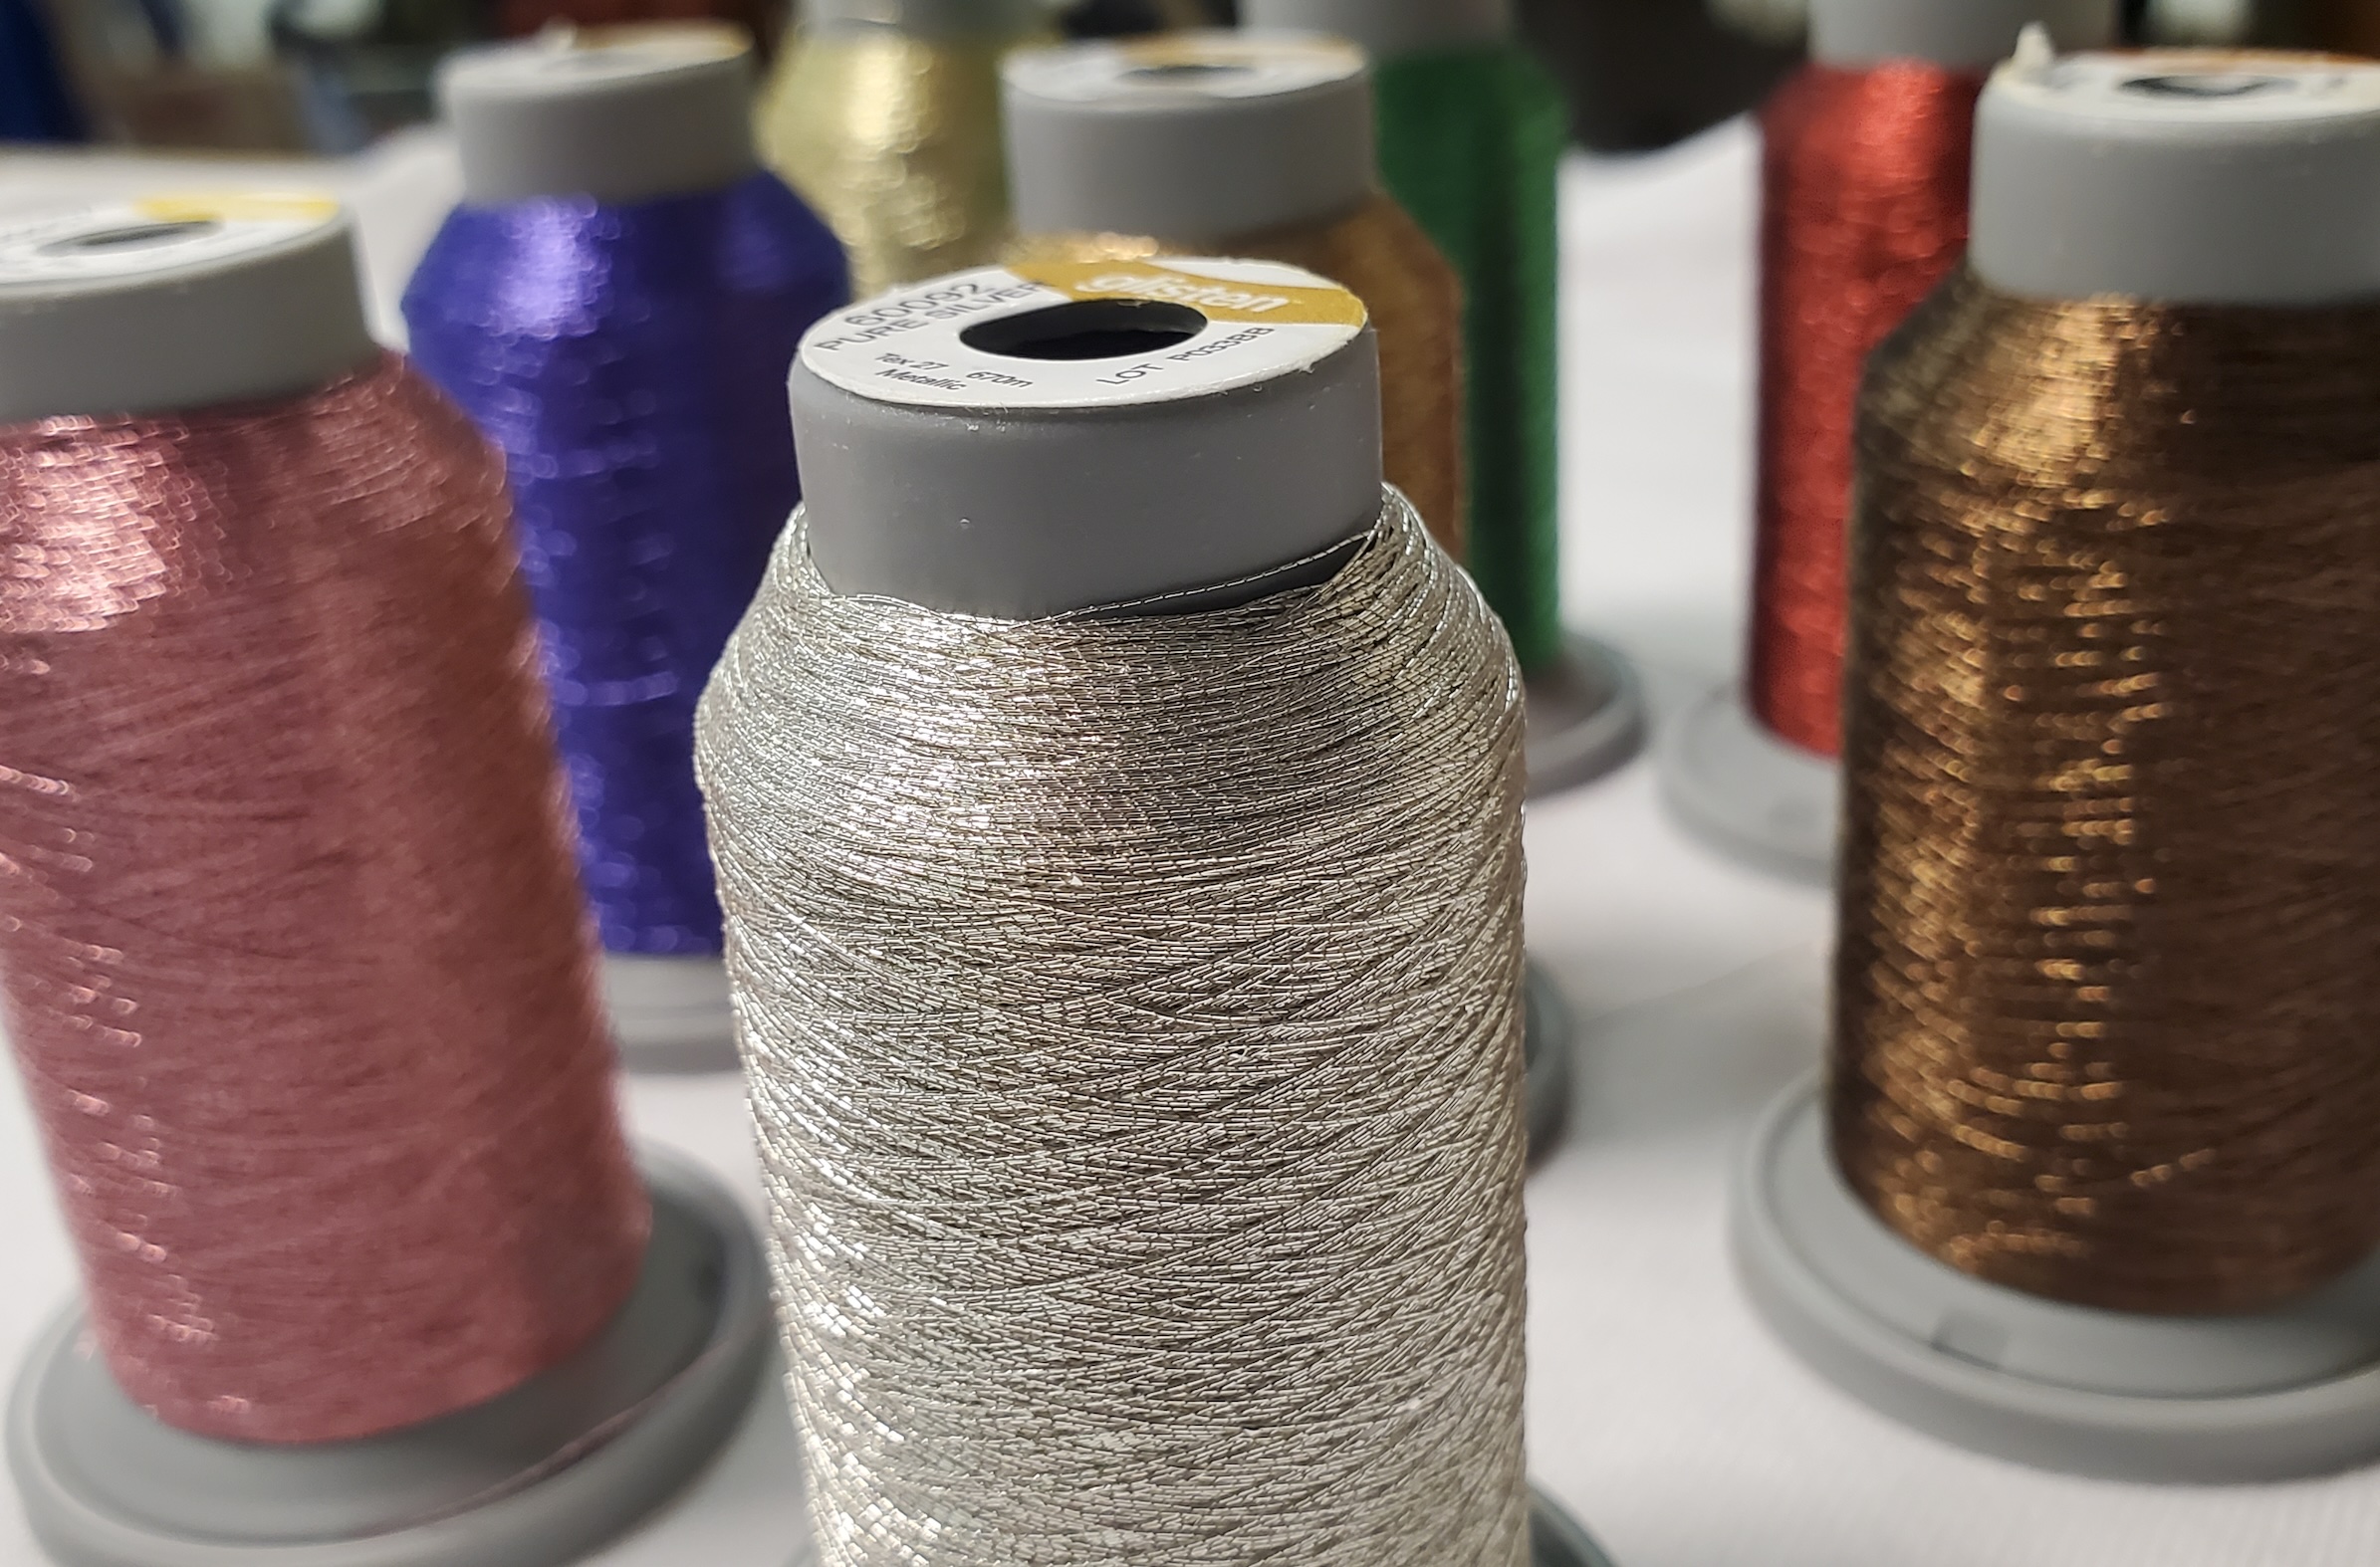
There are tons of options these days in terms of metallic thread. Madeira USA and Gunold, for example, have threads offering a range of features and/or advantages. Some have a softer feel. Some are thinner than others. Explore different vendors and brands and see what fits your business best. I personally decided to offer Glisten metallics through my company, Trouble Me Knot Embroidery (troublemeknot.com), because they are available in a range of colors in addition to silver and gold. They also perform well at high speeds, have a chunky texture that makes them shine beautifully and are available in smaller cone sizes. I generally run them at between 600-850 spm (stitches per minute) with a 90/14 needle, though I recently ran this same thread with a 75/11 needle using an SWF KX machine on a structured cap at 600 spm and had zero thread breaks! It just goes to show how with the right tension and a quality metallic thread, amazing results are possible.
Depending on the weight of the thread you’re working with, you may or may not need to adjust the density and/or the tie in/off types. Employing a variety of angles in the design elements you use your metallic thread in will also help make them bounce light around beautifully. To sew fill areas more quickly and reduce your production costs, consider creating a layer of manual underlay stitches in a standard 40 wt. polyester thread beneath your metallic stitches.
Adding Depth/Dimension With 12 wt. Threads
If you want to add some dimension, texture or loft to your designs, you may want to get comfortable with 12 weight threads made of wool, cotton or an acrylic blend. These kinds or thread work great when creating distressed or vintage looks. They can be incorporated into a wide range of logos as well.
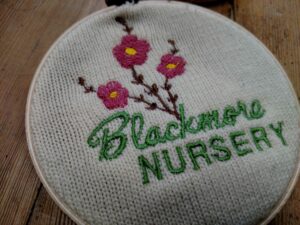
Heavier 12 weight threads made of a wool, cotton and acrylic are great for creating distressed or vintage looks. Photo by Katie Wubber
Let’s say a dog grooming company comes to you looking to decorate their employee uniforms and create some custom merchandise for their customers. You present their logo utilizing thick fuzzy threads that bring the poodle in their logo to life to the point it makes you want to pet it. It not only stitches in less time per shirt, and looks amazing, it may even become a conversation piece in your community that helps generate yet more business.
For those interested in trying this kind of embroidery, MadeiraUSA’s Burmilana thread, made of 50 percent acrylic and 50 percent natural wool, is a great option due to its durability and the fact it works great with softer fabrics, like chenille. The company also offers something it calls BurmilanaCo, a 50/50 cotton-acrylic blend that works great with fringing, decorative seams and other special techniques. In this same vein, Gunold offers an acrylic thread it calls Filaine, which holds up well and is great for creating needlework effects and/or rustic designs with a commercial embroidery machine.
Bear in mind some basic adjustments to the design will need to be made in order for these kinds of threads to have the room to lay on the garment the right way. Adjusting the density value to 9.0 or higher and increasing the stitch length from a standard 2.0 mm to 3.5-4.5 mm will likely do the trick. If your software allows it, you can adjust the tie in/tie off type to a more aggressive style as well. Because these threads are much thicker than a standard 40 wt. polyester thread, I recommend pairing them with a 100/16 needle. You will also want to adjust the upper tension on your machine to avoid thread breaks.
If you notice lint or any other debris building up when using these kinds of threads, be sure and clean it up as needed. Note, rather than putting the thread on my machine in the usual position, I like to set the cone a little lower or even horizontally to allow the thread to pull off it more easily. I’ve been able to sew these threads at high speeds thanks to a combination of having made the necessary adjustments and (I suspect) a bit of good luck. Again, though, it’s always a good idea to start low and slow. I been impressed and amazed at how easy it has been to work with these crazy thick threads once I understood how to get them to behave.
Say, Yes, to More Custom Embroidery Work
Some embroidery jobs come with a specific set of requirements: think safety gear or the gear used by chefs, firefighters and electrical workers. For jobs like these, Hab+Dash by Fil-Tec offers a thread it calls Blaze-Guard Craq-Spun Nomex, which is available in over a dozen different colors. Along these same lines, Madeira USA has something it calls Fire Fighter—a Flame Resistant thread that comes in 30 colors and is available in both large and small cone sizes. Similarly, Gunold offers a selection of Poly Fire Retardant threads in a range of colors in combination with a line of fire-retardant bobbins and backing.
High visibility reflective threads are also sometimes necessary, in which case, you might want to try a product like Madeira Reflect. Gunold also offers a Silver Reflective thread, Reflex Cry, which consists of a reflective thread surrounded by thousands of microscopic glass beads. A 30-wt. thread, you may find it a bit of a challenge to work with. However, the company provides some very specific recommendations on how to make it work.
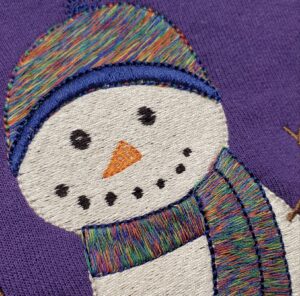
An example of the fun effects that can be created using variegated threads. Photo by Katie Wubber
For embroidery that’s going to spend much of its life in the outdoors, you might want to consider using Glide UV (available from Hab+Dash by Fil-Tec) or Madeira USA’s Frosted Matt threads, threads that are both fade resistant and hold up well to laundering, harsh chemicals and harsh use in general, making them ideal for everything from hiking and boating to outdoor décor.
Then there are those specialty threads that can be incorporated into an existing design without any additional fuss whatsoever. I love, for example, using variegated threads in place of multiple different shades of thread in a design in order to be able to use fewer needles and sew faster. To avoid striping, be sure and digitize randomly and layer the different elements in a way that avoids visible patterns. I love working with Affinity variegated threads especially, because of the many colors they come in. They also sew well without your having to change the design, machine settings or needle size.
Glow-in-the-Dark Thread and Getting Started
Glow-in-the-dark threads can be great when making in-the-hoop trick-or-treat bags and other fun projects, like a blanket that makes bedtime fun with a hidden design that lights up at bedtime. Glow-in-the-dark threads will appear as a kind of pastel matte in direct light and then glow in the dark for up to eight hours after they’ve been charged by a light source. For a more subtle look in the daytime, try a tone-on-tone approach that will appear as a fun surprise in the dark or contrast the garment and thread color to make the design visible when used in both light and dark settings.
Glitter thread can be a fun addition to children’s apparel as well. Seasonal designs, such as candles, Christmas trees or fireworks, will often look better than ever when created with such an amazing thread. And don’t forget about Egyptian long-staple cotton threads with their soft feel for those with sensitive skin, like babies or those with allergies. Treat threads like these the same as you would the others we’ve discussed, i.e., double check your settings, your design properties and your needle sizes.
Ultimately, the best way to start incorporating these kinds of threads is to step to the edge of your comfort zone and then take another step past it. Dive in and get comfortable with whatever thread options you’d like to begin offering in anticipation of presenting them as an option for your customers. Purchase the types of thread you can see your customers saying, yes, to or the ones that excite you the most. Grab a variety of needle sizes, a can of silicone spray in case they decide to put up a fight and give them a try.
Create some samples to show off your work. While you’re at it, develop a pricing structure for these thread types reflecting any extra work or cost involved. Audit the amount of time it takes to swap threads, adjust your speed and tension, change needles and possibly even create a special design in order to make it look right. Calculate the percentage difference you will need to add to the regular price for each job based on thread cost and these labor differences. Don’t forget your willingness to offer specialty threads has value, so don’t short yourself. Customers love having options and offering a premium product will be sure to increase your bottom line.

Katie Wubben is the owner of Trouble Me Knot Embroidery, an embroidery training company and distributor of a wide range of embroidery supplies, including everything from needles to bobbins, backings and thread, and HoopMaster products. Wubben also sells Melco and SWF embroidery machines and is a veteran presenter with the Impressions Expo’s educational conference program as well as several other shows around the United States. For more information, go to troublemeknot.com.