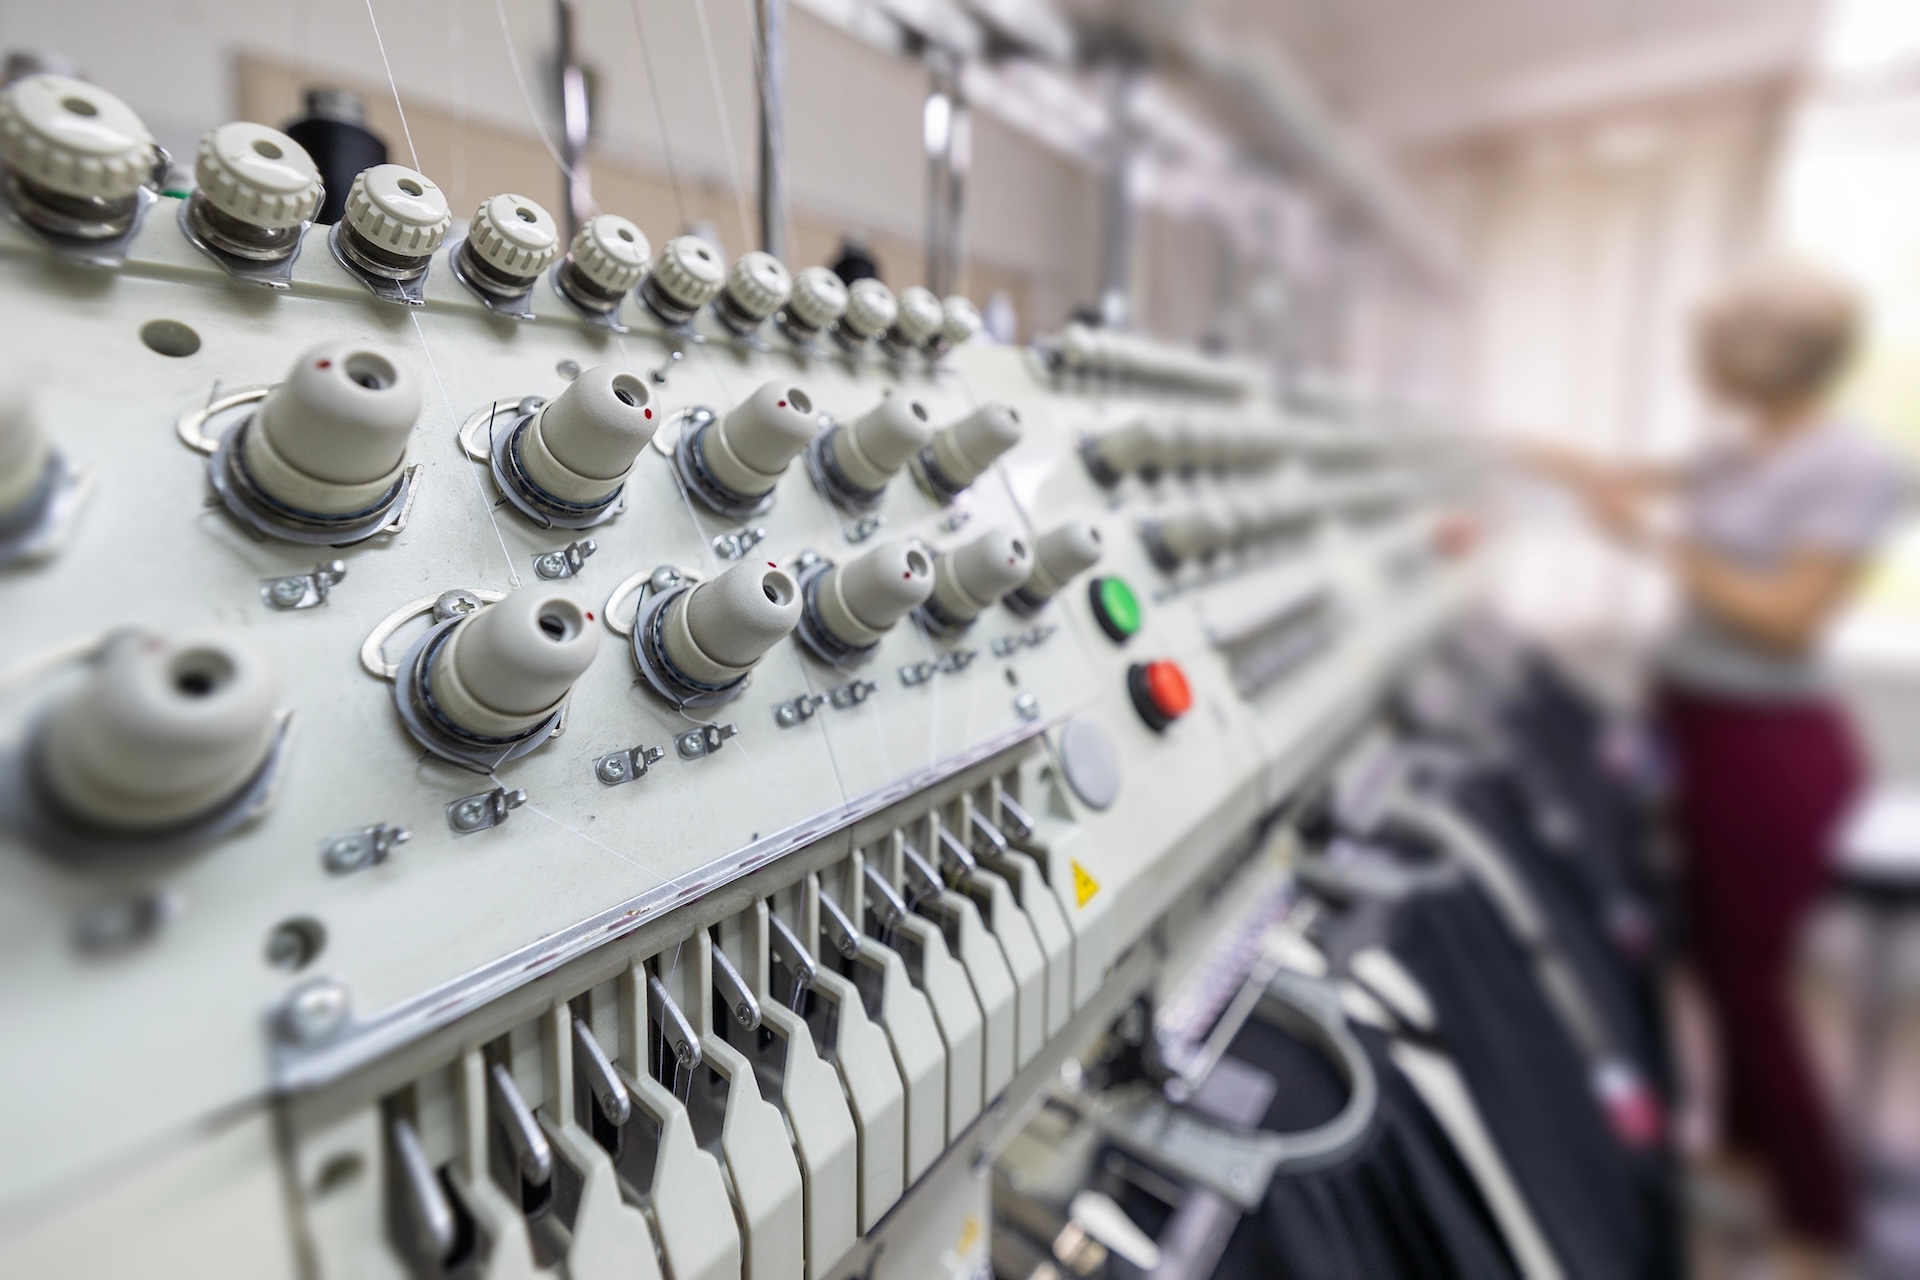
Establishing well-organized production and order management areas is critical to running a successful custom embroidery business
Every embroidery shop, large or small, home-based or based in a retail space, can benefit from having a well-designed production area to help get its work done. With that in mind, let’s walk through your own space to see how well it is doing that and what can be done to further improve your workflow.
When you walk into your workspace, pay attention to what your body does in the first 30 seconds. Ignore your mental to-do list. Ignore whatever mood you may be in. It will be worth it, really.
What is your physical reaction to the space? Do you feel relaxed? Do you want to turn around and walk right back out again? Do you have the urge to move things? Did you have to step over something? Do you have no idea what the next job is, or where it’s located?
Do you walk into your space, settle into a productive work mindset and begin the day? Or do you immediately begin compensating, making mental notes to get that order currently piled up on the folding table trimmed, into a box and invoiced before ordering the threads and bobbins you’re going to need for that next big job for customer X—which you expect to arrive any day now?

Reevaluating Where Your Machine Embroidery Equipment Landed
All too many shops are built around wherever it was various pieces of equipment happened to land when they first arrived. Imagine the possibilities then if you were to redesign your workspace based on a clear understanding of how orders actually flow through your business.

A place for everything and everything in its place should be the mantra of every custom embroidery shop. Photo by Natalia – stock.adobe.com
In real life, a new machine arrives and everything else ends up working around it from that moment on, often for years to come. The resulting inefficiencies are not just about your setup or your equipment. The issue is bigger than that. It’s a planning gap. The good news is it’s a gap you can fill at any time, whether you are setting up your very first machine in a spare bedroom or adding a 12-head system to an existing production facility.
I remember one time a member of the National Network of Embroidery Professionals (NNEP), an organization I both founded and run, told me the single highest-impact thing she did in her first year wasn’t marketing, wasn’t pricing, wasn’t even getting her second repeat customer. It was spending $40 on a rolling utility cart.
One of the reasons for this is that, in addition to buying her new cart, she spent an afternoon putting her supplies in a logical order that made sense to her. As a result, her hooping time for a 12-piece run dropped by nearly 20 minutes, which over the course of a typical workweek meant the difference between her finishing her orders on time or her having to work late in order to get everything done.
A Place for Every Embroidery Tool, Every Tool in Its Place
As is abundantly clear in the case above, the machine isn’t the only thing that matters. Threads, bobbins, stabilizers, toppings, scissors, spray adhesive, hooping tools, order forms, you name it: every one of those items takes time to find and bring into play if it doesn’t have a home near where it is needed. That time adds up, even if it doesn’t show up in a quote. Having to look all around your workspace every time you need a pair of scissors might not seem like that big of a deal. However, when you have to do that 10, 15, 20 times a week, it adds up as lost production time, eating into your profits.
Create a set of well-defined zones for the various different functions taking place in your company’s production area. Photo by Sergey Ryzhov – stock.adobe.com
How often do you do the “PatPat?” That’s what we called it in our shop whenever anyone started walking around looking for a pair of nips or scissors to use. My mom, our production manager, got annoyed enough at people wasting time doing the PatPat that she did two things. First, anyone caught doing the PatPat had to put a dollar in the PatPat jar on her desk. Second, she gave everyone the choice of a lanyard or a waist apron and then expected them to keep their nips and scissors with them, instead of setting them someplace where they might have to hunt for them again. As an added bonus, if the jar was filled by the end of the week, she would buy a bag of her favorite candy. If, on the other hand, the jar needed more than a week to get filled, she bought candy the staff preferred.
If you are just getting started, don’t put off organizing your space. Granted, it may be tempting to resist this step and jump right into processing orders. However, the busier you get, the more it’s going to cost you and the harder it’s going to be to fix later on as you become fixed in your ways.
As you are doing so, try and optimize things according to what I call the Three-Zone Setup, an approach that works equally well in a 10-by-10-foot spare room, a corner of a garage or basement, or in a 3,000-square-foot workspace. The reason it works is it’s not about the size of the space, but the separation of tasks. The three zones and the tasks that take place in each of them are as follows.
Zone 1: Production – This zone is all about your production equipment and whatever it is you need to keep stitching as efficiently as possible. This space needs assigned locations for everything you use when processing orders—the right size hoops, threads, stabilizers, nips, bobbins: the essentials, in other words. Everything else, finished goods, the next order, orders waiting for backordered products or supplies not needed for the current job, should not be in your production space.
While you’re at it, check and see how good the lighting is and whether you find yourself having to stand, perch on a stool or sit to run your equipment. Poor lighting leads to eye fatigue, which leads to errors. Poor seating or poor or non-existent floor padding can also cause fatigue. It might not seem like it is worth dealing with these kinds of things now, but over time, they will definitely impact the quality of your work.
If, for example, you find yourself having to twist around in order to do your hooping or bend way down to re-thread needles, consider upgrading your hooping station to reduce the amount of movement involved and/or raising up the machine in question on a set of risers. Things like this are worth getting right as soon as possible, as the benefits are cumulative and will have a lasting impact on both your profitability and your success as a business.
Zone 2: Order Management – New orders, work to be done sooner rather than later, and finished orders: these are three very different things and all need their own landing spot. This may sound unnecessary when you are still small. However, it will quickly become obvious the moment you drop the wrong shirt onto the stack you are currently hooping and end up putting the wrong design on it. Ask me how I know! Your order management system needn’t be fancy. It just needs to be clear—and consistently used. Something as simple as a shelf with labels or a table with a designated set of sections by status works.
What matters here is that wherever a product or products are located tells you where the order is in the fulfillment process, e.g., up next for decorating, ready to finish and pack, or waiting for shipment/pickup. You no longer need to look at your paperwork to know. The location gives you that information.
Zone 3: Supplies and Tools – Creating decorated apparel requires various different types of supplies and tools, including everything from thread and bobbins to stabilizers (precut and/or in rolls), toppings, needles, nips, scissors, adhesives, clamps and clips. With this in mind, everything should have a designated home. Your tools should also all be in the same area. Every time you spend 10 minutes looking for the right backing to hoop the next job, you are losing money. As an added benefit, by keeping your supply zone organized, it becomes that much easier seeing when you need to reorder something, so you won’t ever have to panic because you, say, ran out of backing in the middle of trying to get a last-minute job out the door.
Making Sure You Have the Production Space You Need
Although adding new equipment is definitely a money decision, it is about space as well. Many shops do not give enough thought to the amount of space they have. Squeezing another machine into an already crowded room will not necessarily double your output. Just the opposite, as it can cause as many problems as it solves. The last thing you want is add an expensive new piece of equipment only to find it’s slowing you down.
To avoid making these kinds of mistakes, use an actual production day to analyze your workflow as a whole. Pay attention to how you move through and around your workspace. Don’t assume you know how these kinds of things go, and only do this in your head. Use a real work session.
Note how many times you have to cross the room in order to get something or move something out of the way. What do you pick up and use, and then have to walk more than three steps to put away? Where do you backtrack?
These observations will tell you more about where a new piece of equipment should live than any sketch.
An embroidery professional I worked with for years recently moved her business from a spare room at home to a 600-square-foot retail location. This in turn afforded her an opportunity to start afresh and create her own version of the ideal workspace.
As she was doing so she realized in her home workspace, she’d been walking back and forth for various reasons multiple times while running an order. In the new space, she started with where a box of blank apparel would arrive at the back door and then designed her three work zones so that the apparel contained within this box would move efficiently through her new workspace, all the way up until it was sitting ready for customer pickup.
Within a week of getting her new space up and running, she was completing more work in a single day than she ever had previously, thanks to the three zones she’d created and her no longer having to go round in circles.
Everything now lives where it is being used and is easy to put away when it is not. She nested all her hoops, hanging them on the wall above her hooping table. Her threads are now stored under that same table. She also put some strips of magnetic tape along the sides of her embroidery machine table, the better to keep her scissors, nips, tweezers and magnifying glass within reach. All these little tweaks add up to a better workflow, resulting in higher volume, all without adding any equipment.
Bear in mind, if your customers are coming to you to place orders, pick up orders or make walk-in purchases, your space is now serving not one but two sets of purposes—those of the customers and yourself. What the customer sees tells them a lot about your business. First impressions are lasting ones. If your workspace looks chaotic, it signals disorganization. In other words, a well-thought-out production space behind the sales counter provides a strong selling point as well, giving off the vibe you know what you are doing.
Taking a Fresh Look at Your Commercial Embroidery Workspace
Again, it can be all too easy to let mounds of excess backing pile up or toss any shirts that have a crooked pocket or a hole in them into some corner somewhere. This stuff has a sneaky way of building up, making your workspace smaller without you ever even noticing it. To break this cycle, set aside some time on your daily or weekly schedule to work on resetting your workspace. Building just five to 10 minutes of workspace reset time into your routine will prevent this kind of creep from eating into your productivity and, by extension, your profits.
When it comes time for you do so, you should again try the following:
- Pretend you are a new hire, but with embroidery experience—what do you see?
- Walk an order through your shop from start to finish paying close attention to every step.
- Ask yourself what tools or supplies are not where you would use normally them
- Ask yourself what does and doesn’t seem to make sense as an order moves through the fulfillment process
- Note when and where you have to move around piles or shirts or pieces of equipment to get to the next step.
As you are asking yourself these questions, write down everything you notice, no matter how small.
This becomes your target list. Focus on your three zones. If you haven’t already, sketch out your space and where these three zones make the most sense. You are not necessarily doing a renovation, just deciding where things need to go in order for them to work well. Tackle supplies first. This is an easy win that will have an immediate impact. Take an afternoon to sort, organize, contain and label where everything needs to live and then put it there.
Again, before purchasing any new equipment, track a full production day. Where do you walk? Where do you backtrack? What takes longer than it should? This information will help determine where more equipment can land, and/or if your space can handle it.
If you are considering a move, measure the size of the area you currently use. More space is not always the answer. A well-used 600-square-foot space will outperform a chaotic 1,200-square-foot mess any day.
The goal isn’t a workspace that looks good on Instagram, it’s one that will help you run your business run more smoothly. Friction in your workspace caused by poorly used space and a poorly designed workflow will slow you down. It’s a hidden drain working against your company’s success as it invariably ends up costing you not only real time but real money as well.
As the founder of the National Network of Embroidery Professionals (NNEP), Jennifer Cox has worked with thousands of embroidery and decorated-apparel business owners to help them build successful businesses for over the past 25 years. NNEP supports members with services, savings and programs designed to help its members find customers, keep customers and make money. To find out more or share any of the challenges your company may currently be experiencing, go to NNEP.com.